Wooden Mask Project
I decided to create a wooden mask for an artist that requested one. This post will be about how I created said mask! I forgot how long it took me to finish carving it as I was doing so on and off (maybe 2-3 weeks). The mask is entirely hand carved, I didn't use any power tools. Because of that, my hand would cramp and there was a lot of stopping lol. If you're ever doing a project like this, just remember to listen to your body and go at a pace comfortable for you, even if you feel you're a little slow. I know I felt like I progressed sluggishly, since this was my first real undertaking trying to create something out of a chunk of wood.
So, to get started on my project I needed the material to work on and the right tools. For the raw wood, I salvaged a piece of an old bench that was painted red, faded with age.
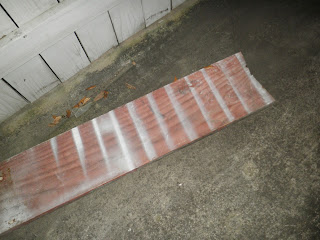


So, to get started on my project I needed the material to work on and the right tools. For the raw wood, I salvaged a piece of an old bench that was painted red, faded with age.


Next up, I needed the tools; unfortunately, human beings don't have metal talons or anything sharp naturally growing on their bodies. So, I gathered up these components:
Close up of the carving knives ^
For the initial cutting of the wood to a feasible, workable size, I bought a Stanley STHT20138 Solid Frame High Tension Hacksaw from Amazon. I simply created a rough sketch of the mask, measured the size from the raw material, and started sawing away. I didn't use a workbench or anything, I just kind of propped the long piece of wood up against a door frame and held the wood steady with a hand or foot. Here's a re-enactment:
^ though sometimes I would change position and get more stability holding the wood on the other side
Next up, for the carving and detailing of the wood into a mask, I bought a Yasutomo Niji Woodcarving Set of 12 from Amazon as well. The woodcarving set comes with a small stone for sharpening, but in my opinion it's not that great, or big, so I bought a flip top knife sharpener from my local Wal-mart. It was made for kitchen knives, but what I like about it is that it comes with a coarser and fine sharpener all in one and you don't have to get the angle on a stone right and hold that position to sharpen the metal correctly. If you're new to sharpening knives and don't know what I mean, here's the links to YouTube videos I saw to grasp the concept of sharpening knives:
https://www.youtube.com/watch?v=XS_iFj3osQ4 (I watched all parts for the sake of knowledge, but this is just the link to part 1)
https://www.youtube.com/watch?v=wSzq45W0LTk
Before I started the actual carving and detailing, I gathered some gloves; they're just regular work out gloves bought at Wal-mart, but they're padded and they helped to protect my hand from knocking into the wood or scraping against it. Plus, they took some of the strain off my hand that comes from using uncomfortable, slim, wooden tools for hours.
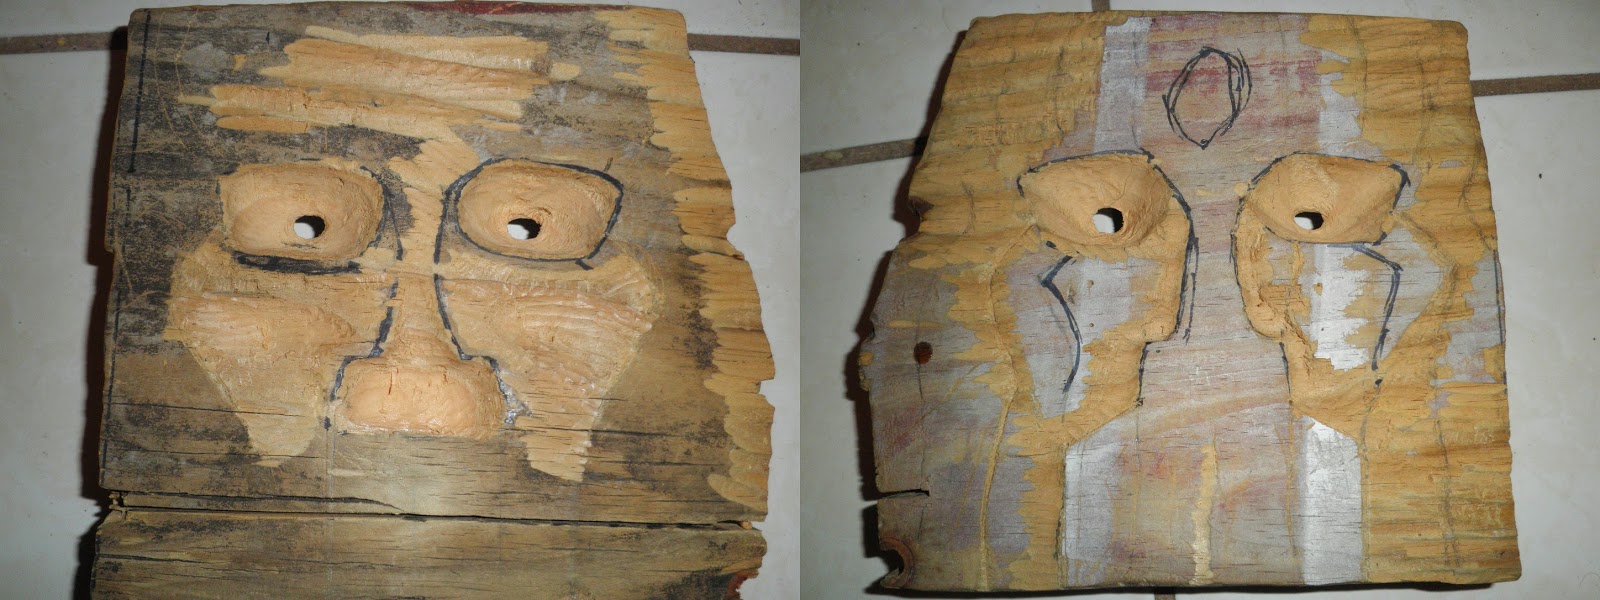
Here's how the mask started developing after using the wood carving set (this step took the longest):
Then, I used a sandpaper sponge (as pictured earlier); It's grade was simply labeled "fine" and was bought from Wal-mart. I sanded the mask so it was smooth to the touch, but didn't grind it down enough to make the surface flawless, I purposely left some unevenness. Plus, I elongated the eye slits.
Next, I utilized the toothbrush to clean the
mask of all debris, such as wood chips and sanding dust, so I could properly stain and seal it. The toothbrush really helped me to get into
the tiny nooks of the mask.
Finally, as previously mentioned I need to stain and seal the mask. So, to give the wood a more robust color and to seal it for preservation and longevity, I used these products:
The first product I used is pictured above on the left, Minwax Wood Finish that penetrates, stains, and seals. I used it mainly for bringing out a beautiful color in the wood and to see the nice wood grain, not really for the final sealing of the wood even though it says it seals. I followed the instructions on the back of the can, left the stain on for the lowest amount of time recommended (5 minutes), and dried the residual stain off with a rag.
^ mask in natural light
^ indoors lighting
What I used for the final sealing, and for a glossy finish that preserves the wood for a long time is Minwax Fast-drying Polyurethane Clear Gloss. Though it was my first time using any of these Minwax products, I found it simple and was easily able to follow the instructions like I had on the other can. I used two coats, as the can recommends, but didn't sand in between coats.
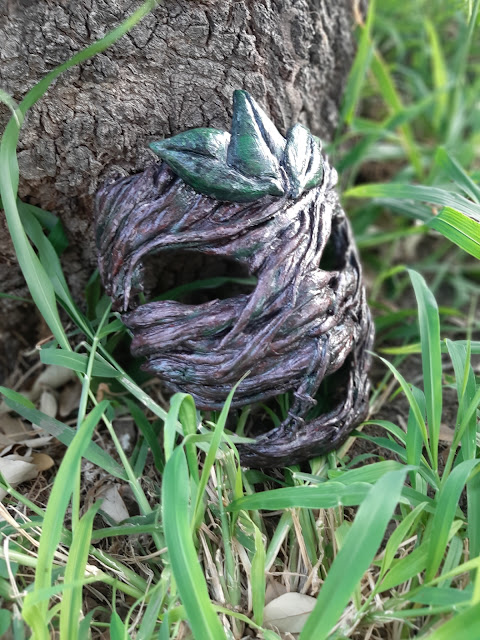
After 1st coat ^
After 2nd, final coat ^
I could be finished here, but I decided to add some nice face padding to the forehead and cheeks. So, I cut up an old t-shirt, glued 3 sides of the cloth down with wood glue, and then filled it up with other scraps of cloth. When it was filled, I glued down the 4th side and did the same with the cheeks.
I then added a rope for wear-ability; I had already carved two slots on the side of the mask that the rope could go through. I decided on a tri head strap - two straps on the side and one on the top. For the third strap that goes over the head, I tacked it down with the extra cloth I put over the whole mask. The extra cloth was also secured by the straps on the side, I didn't glue it down. The results:
Here the mask is in action, all completed on my model:
Yay, all done! Make sure to wait for the polyurethane to cure. Depending on if it's oil based or water based, the times of drying will differ. A quick Google search will tell you how long the drying times are.
I haven't planned any other wood projects after this, but you never know.
I haven't planned any other wood projects after this, but you never know.


Comments
Post a Comment